Export from Unity
Keep the original C# code, characters, scenes, and assets. Use Unity’s official Web Build Support, Default template, and native Build. No Combos Editor plugin, Unity Pipeline, Unity CLI, or custom template is required. Adapt native plugins and platform dependencies for Web as needed.
1. Activate the Web platform
Open the project with its required editor and test its main scene. In Unity Hub → Installs → that editor → Add modules, install Web Build Support. Stop Play, then choose File → Build Profiles → Web → Switch Platform. Older editors use Build Settings → WebGL. Wait for imports and the Active indicator.
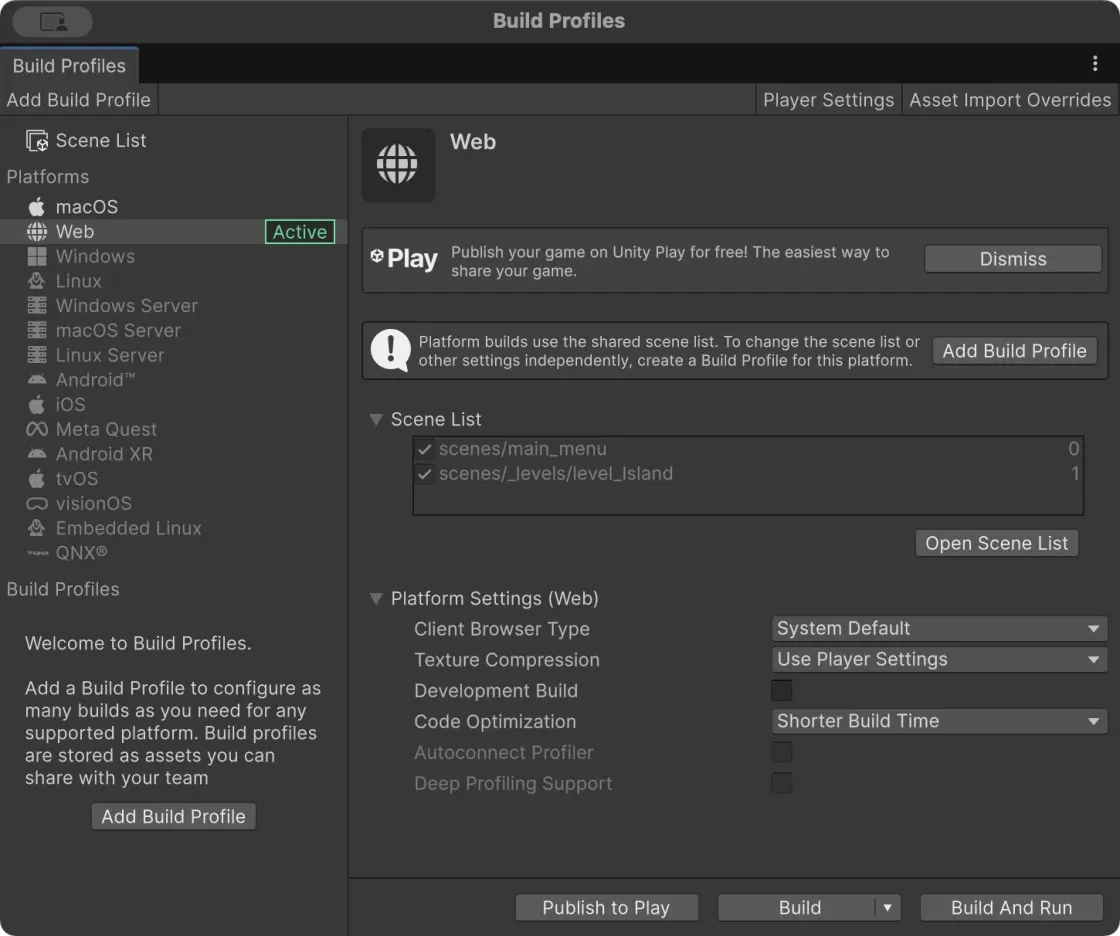
Unity’s native Web platform is active. This scene list belongs to BoatAttack.
2. Configure your scenes and output
Put your entry scene at index 0 and include every required scene. In Player Settings → Web, select Default and turn off Development Build.
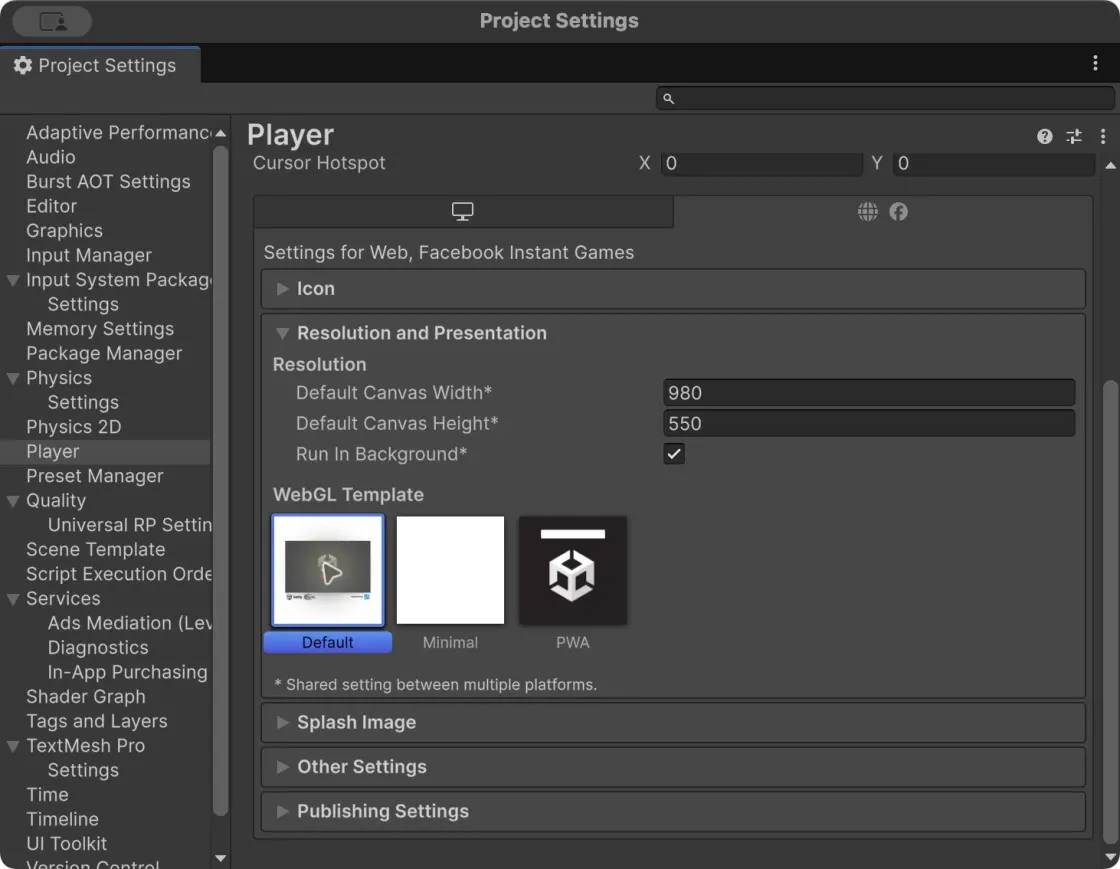
Select Unity’s built-in Default template.
| Setting | Example and adaptation |
|---|---|
| Compression | Gzip + Decompression Fallback; Disabled is another option if size permits |
| Threads | Single-threaded; multithreading requires host cross-origin isolation |
| Graphics and memory | WebGL 2, 256 MB initial memory with growth; validate against your game and devices |
| Scenes | Main menu + Island in this example; replace with your own |
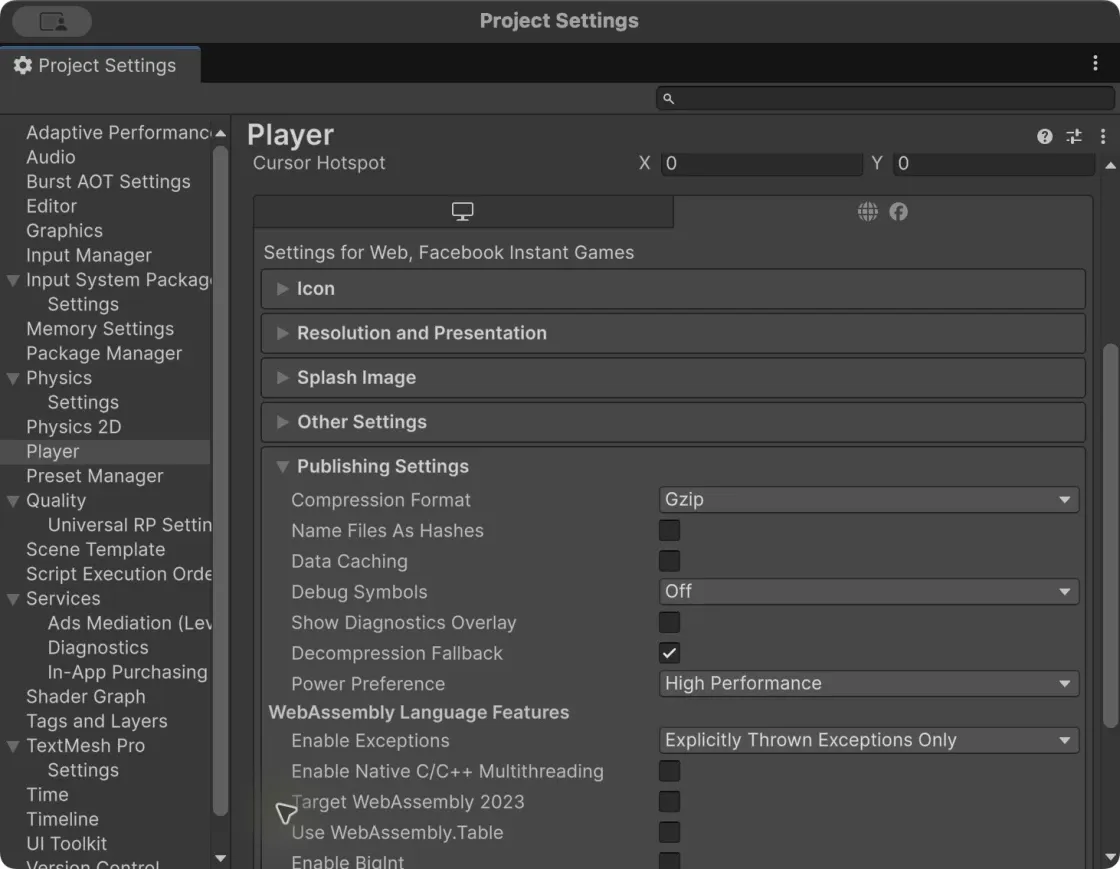
Gzip, Decompression Fallback, and single-threaded publishing settings.
Without fallback, .gz/.br files need matching server Content-Encoding. With fallback, Unity’s loader decompresses .unityweb, adding loader size and losing native streaming decompression benefits. File extensions alone do not prove compatibility: test the final host. Unity deployment documentation .
3. Include dynamic assets
For local Addressables, enable Build Addressables content on Player Build and keep StreamingAssets/aa. In BoatAttack: Window → Asset Management → Addressables → Settings → Build. Check public URLs and browser access for remote assets. Projects without Addressables do not need to install it. Enter a real level to check characters, boats, and UI—not only the menu. Addressables documentation .
4. Build the complete folder
Save, choose native Build, and output to dist in the project root. Back up old output and build into an empty folder. Resolve Console errors until the build succeeds.
dist/
├── index.html
├── Build/
├── TemplateData/
└── StreamingAssets/
Keep the entire export: C# becomes WebAssembly and assets travel with the engine build. Do not rewrite it line by line in JavaScript or upload Assets, Packages, ProjectSettings, or Library.
5. Play and publish
Use an HTTP server or Build And Run. Enter a level, drive or move, and check dynamic assets, UI, pause, and replay. Follow Publish and update, retest online, and declare only verified devices.
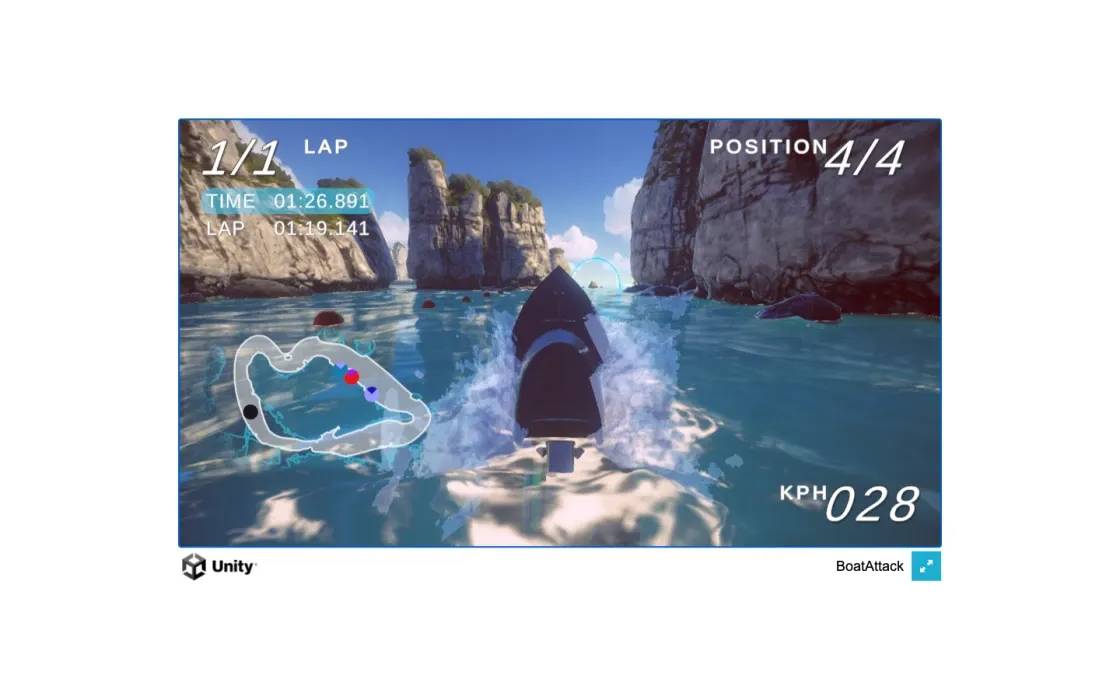
The native BoatAttack Default export running a race locally.
The BoatAttack example contains its specific compatibility patch and recorded results. A game that already exports to WebGL does not need that patch or its scene names.
Source: Combos developer integration guide , checked on 2026-10-08 with CLI v1.14.2. Example results refer to the original recorded runs.